This week our first grade spelling words have taken a new direction. For the first four weeks of school, we were learning word families. Each week we had five words to memorize and a fluency passage to read. At the end of the week, we took a test over those five words and a practice sentence utilizing the words.
This week we are still practicing five words in a few word families, but there’s a twist. On the spelling test, there will be 10 words total to test over. Five of the words will be known and practiced throughout the week. The other five words will come from the same word family.
Not knowing for sure how to make practicing the moorage of words in the word families assigned fun, I turned to Pinterest. It has become my go-to place for surviving being a virtual homeschool parent of a first grader. I wish I had time to creatively come up with new ideas on my own, but I give myself credit for flying by the set of my pants and being able to reinvent ideas others have found successful already.
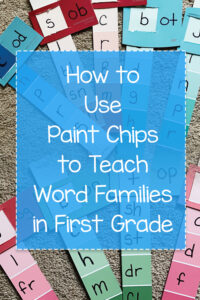
So this week … we are using paint chips from local hardware stores to start practicing our word families in preparation for the end of week spelling test.
If you’re looking for an affordable and fun way to teach your kindergarten or first grade students about word families, this Paint Chip Word Families Activity can be a great visual hands-on way to inspire them to learn.
It took me about 30 minutes to put this project together on Friday night.
Step 1: Collect Paint Chips
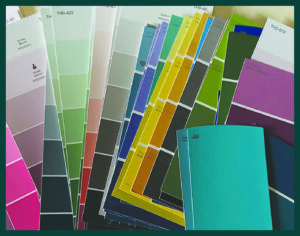 The first step probably seems obvious … collect paint chips from home improvement stores. Lowes and Home Depot both have paint chips you can pickup for free. I found the ones at Lowes to be more beneficial for what I was doing, but honestly, any of the paint chips can be modified to your project. You’ll need some of paint chips that only have one color on them to write your ending sounds on. Then you’ll need several of the paint chips with multiple shades on them to write the beginning letter sound(s) on.
While these paint chips are free for people to use, they’re not intended for this purpose. With that in mind, only take what you need for your educational project.
Step 2: Divide and Conquer
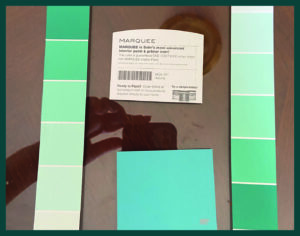 Your shaded paint strips can be cut into two strips that are large enough for you to write a letter on, but small enough that they can be inserted into the single shade paint chip (see below). Use a ruler to ensure your edges are straight. This is important so the strip smoothly runs up and down through the single shade paint chip that you’ll write your word family on. Chances are, your single shade paint chip can also be cut into two pieces.
Step 3: Cut Slits for the Letter Strip
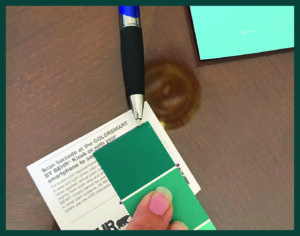 Turn your single shade paint strip on its back and use the first square on your multi-shade paint strip to mark off where you need to cut slits. Then use scissors or an X-Acto knife to cut the slits.
Step 4: Assemble & Construct
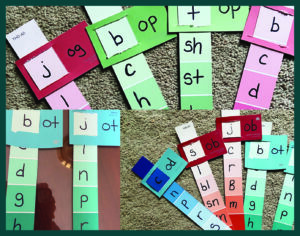 Once you have your pieces cut out, you can assemble them as shown in the picture. Once assembled, write your word family on the single shade paint chip. Then write letters that correspond with words for that word family on the multi-shade paint chip.
If you need help coming up with words for your paint chips, you might find this word family list helpful.
Save to Pinterest
[convertkit form=1708200]