Growing up in Texas, Friday nights meant football. I was fortunate enough to go to a high school where the athletes’ and the coaching staff’s talent matched up at just the right time, and we won or went to the state championship game almost every year during my junior high and high school days.
There isn’t a game more magical than a state championship game when you come from a winning football culture. But in Texas, even if your team never makes the playoffs, there is a game where royalty, ribbons, and school spirit bring the entire town together. The Homecoming game.
As a little girl in elementary school, my mom would give me one dollar on Fridays to buy a spirit ribbon. I loved spirit ribbons. Then one year, on Homecoming day, my mom surprised me with my first mum. It was like a million little spirit ribbons on steroids! And thus began my love of Homecoming mums mixed with Friday night lights.
This year my daughter is three. I no longer live in Texas, but that hasn’t stopped us from attending a few football games to watch her cousin play during his senior year of high school. We live in a small town, but the community support for the team is strong and the spirit is alive in the stands. The cheerleaders are full of energy, and while the band may be a third of the size of the one I grew up playing in, they still march at halftime and proudly play the school’s fight song and other traditional marching band pieces throughout the game.
This year, my daughter caught the Friday Night Fever bug after going to a game. Not because she understands the game. In fact, I’m not even sure she understands there is a game going on at all. She fell in love with the dancing cheerleaders, the marching band music, and the “stage” at the bottom of the bleachers where she first danced after a good play and heard the roar of “applause” that she thought was all for her. She proudly took her bow when the band was finished, and she’s been hooked on dancing at the bottom of the bleachers since.
If a toddler is going to perform, she has to look the part. Even if no one else except her mom is coming to a football game to watch her show. So the Monday before Homecoming, I made the decision to surprise her with her first Homecoming mum. We may live in Arkansas where “bigger is better” homecoming mums aren’t a tradition, but I knew the magic of having all the ribbons and bells under those bright stadium lights would make my little superstar feel extra special.
Almost 20 years ago, my friends would pay me in high school to make their unique Homecoming mums. I would spend hours locked in my bedroom, carefully plotting where to put ribbons, candies, plush bears, and the other bells and whistles. Much like riding a bike, my mum making skills quickly came back to me. Though the mum I made for my three year old was not nearly as elaborate as the ones my friends wore during my youth.
How to Make a Homecoming Mum for a Toddler
Step 1: Purchase Supplies
I went to both Michaels and Hobby Lobby to purchase mum supplies. Michael’s had a better ribbon selection, but Hobby Lobby was the better option for affordable mum decorations.
I purchased all of my ribbons away from the Homecoming aisle. Instead, I hit the main ribbon aisle where they were rolls of ribbon were being sold 40% off. There I picked out three different sized ribbons in the school’s colors. I found one ribbon with glitter, one ribbon with shine, and one ribbon with footballs. I already had curly ribbon at home to attach the bells.
Then I picked up a package of paper mum discs for assembly, a mum flower, a few small decorations, and a package of hot glue sticks.
Tip #1: Use plastic mum discs (or make your own out of milk jugs) so your mum won’t fall apart if it rains.
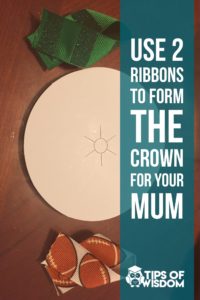
Step 2: Cut and Assemble Ribbons for Your Mum’s Flower Crown Base
There are a lot of fancy ideas for how to decorate the base of your mum. I decided to keep it simple and just do a basic ribbon crown. For that I needed two ribbons of equal size. I cut one ribbon for my template piece and then used it to cut the remaining ribbons. I made 10 of each color. After cutting them, I folded them over and secured the fold with hot glue.
Tip #2: Making up all your ribbons ahead of time makes mum assembly go faster.
Step 3: Assemble the Crown Base
Next, I assembled the ribbons around the mum’s disc and secured them with hot glue. I made sure to leave enough space at the bottom to attach my collage of ribbons that would form the bottom of the mum.
Tip #3: Using hot glue to secure the ribbons instead of staples makes it easier to secure ribbons without the limitations of where your stapler can reach. I used a combination of both staples and hot glue to secure the ribbons.
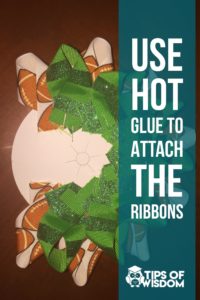
Step 4: Practice Laying Out Your Ribbons
Then came the fun part. I spent a lot of time playing with ribbons and positioning my decorations before ever pulling the trigger on the hot glue gun. This allowed me to see where things would fit best without damaging any of my ribbons. It also let me know what I still needed to grab from the store in terms of extra ribbons and decor before I was locked in to a design.
Once I was happy with the design, I used hot glue to secure each ribbon to the mum’s disc.
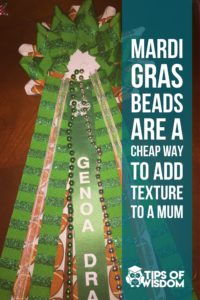
Tip #4: Old Mardi Gras beads make a great addition to a mum without having to spend a fortune on extra ribbons and decor.
Step 5: Add Mum Flower and Other Decor
The final step in mum assembly was adding the mum flower and any ribbon decor. I used ample amounts of hot glue to secure both the flower and the decorations to the mum and ribbons.
Tip #5: Tie your bells to the curly ribbon before you glue it down. This will ensure bell placement and ribbon length match. Then decorate around where the bells fall.
Step 6: Add the Mum’s Centerpiece
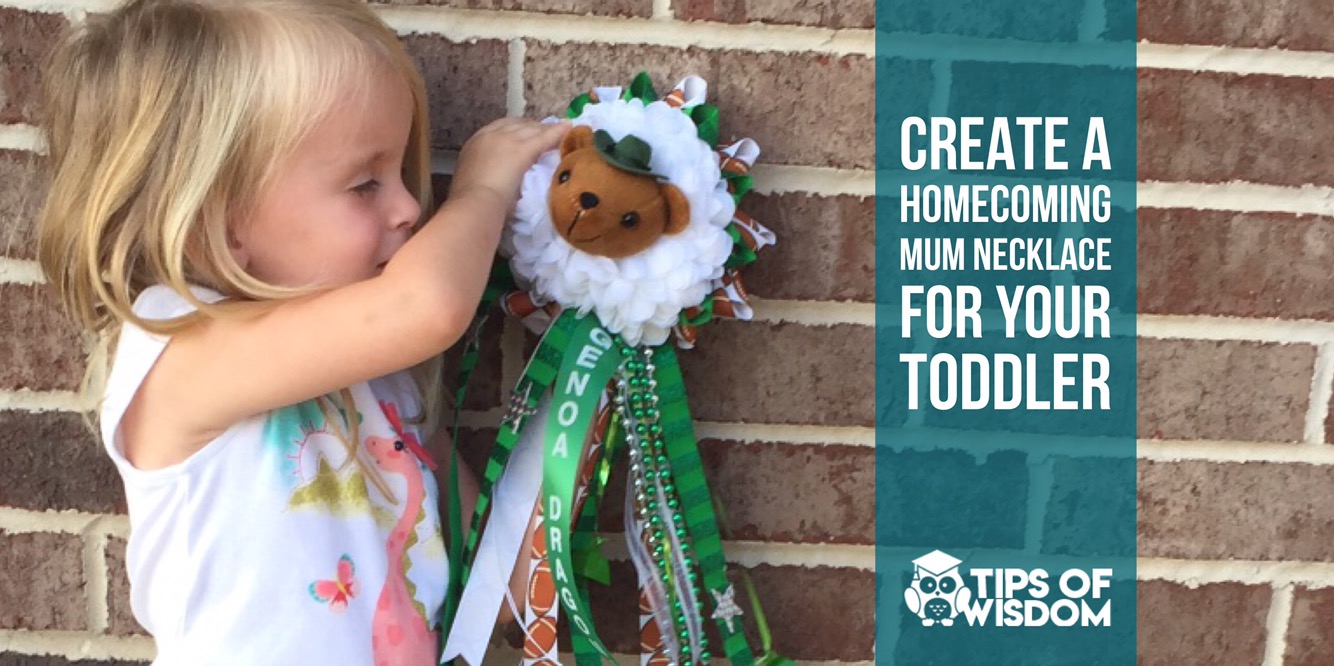
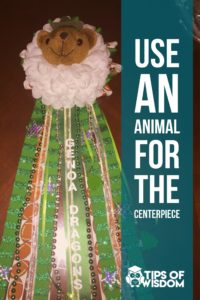
A plain white mum flower as the focal point of a mum is boring. So I selected a teddy bear head for the focal point of the mum. I knew my toddler would love it because she is obsessed with bears. I added a green cowboy hat to the bear to tie it in the school’s colors.
In my glory days of mum making I always added two sachets of Hershey’s kisses to the mum flower because every girl deserves candy and flowers. But I skipped that step on this mum knowing it would be a chocolatey mess during the game with a three year old.
Tip #6: Use plush animals and candy to jazz up the center of your mum’s flower.
Step 7: Surprise Your Toddler
I had spent the entire week building up to the big reveal. My toddler knew a special surprise was coming for the football game, but she didn’t know what it was going to be.
“When little girls go to homecoming games, there is a very special tradition. Their mommies and daddies give them a special flower full of school spirit for them to wear. Tonight you get your very first Homecoming mum as part of that tradition,” I told her as I pulled the mum out from behind my back.
She loved it! She wore it the entire night and used the bells multiple times to join in on all the excitement. I hadn’t originally planned for the mum to be a necklace, but it weighed too much and kept pulling her shirt down. So we took the ribbon out of her hair and used it to create a homecoming mum spirit necklace for her!
Tip #7: Use an extra piece of ribbon to turn the mum into a necklace. Wrap the ribbon around your child’s neck and then secure it to the mum with a safety pin.
